Table of contents:
1. How to calibrate your monitor with a special Windows 10 tool
2. Configure ClearType to calibrate the screen
How to calibrate your monitor with a special windows 10 tool
Windows 10 operating system has a special tool for calibrating monitors. To run it, you can go two ways:
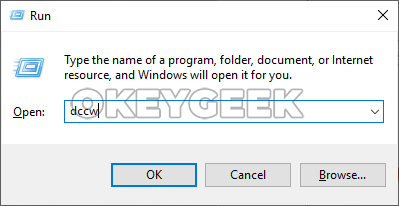
- Use the “Run” line. Click Win+R combination on the keyboard and use the dccw command.
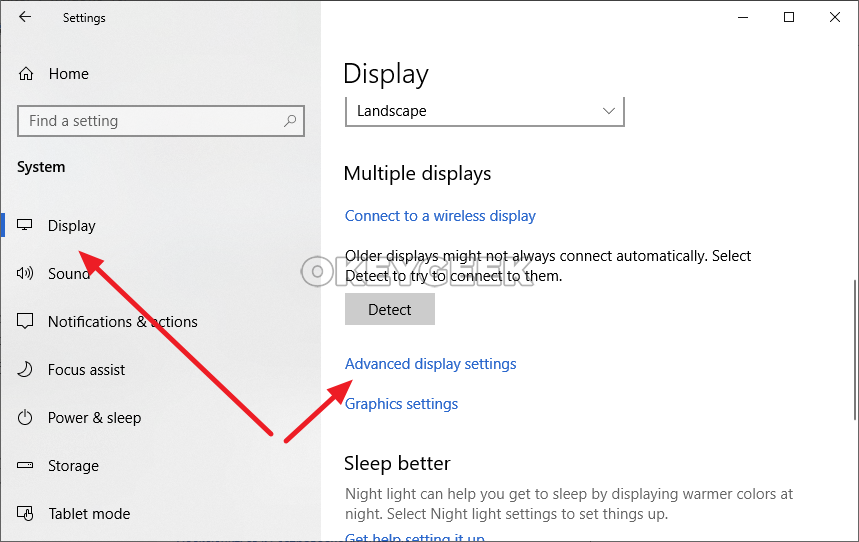
- Use standard “Parameters” in Windows 10. Launch the “Parameters” page (by pressing Win + I or click the gear in the “Start” menu), then go to the “System” section, and from there to the “Display” subsection and select the “Advanced display settings” option among the available options .
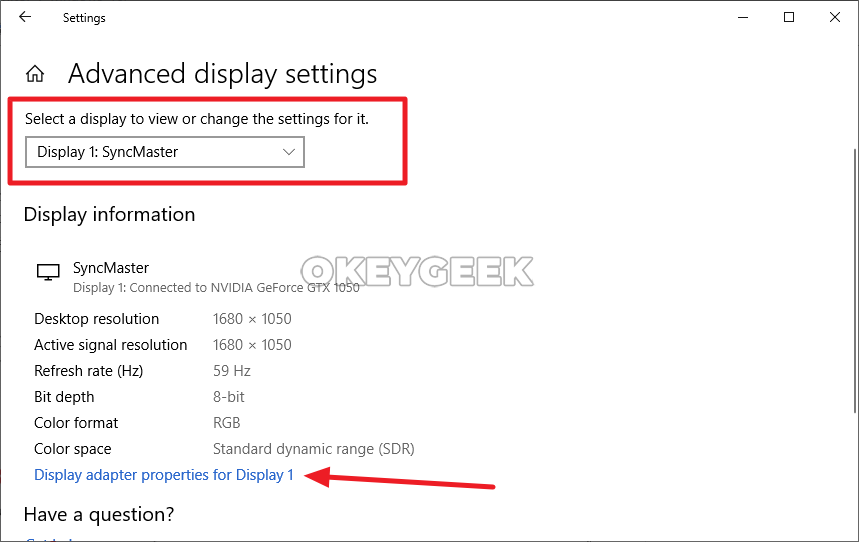
- A new page will open and on this page you need to select the monitor that is being calibrated, and then click “Display adapter properties for Display”.
- There will appear a new window with properties, switch to the Color Management tab and select the option with the same name.
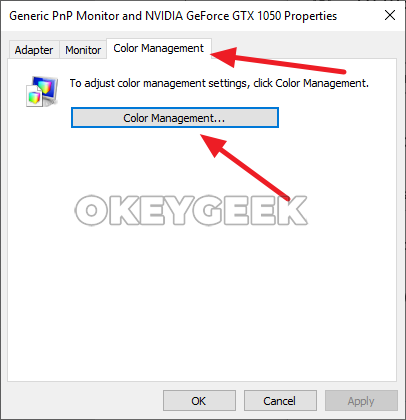
- A new window will open again, in this window you need to go to the “Advanced” tab and click “Calibrate Display”.
Important note: To calibrate the monitor, you must have computer administrator rights.
Running the calibration option, you can proceed directly to adjusting the ideal image. Click on the “Next” button, and then again on the “Next” (after reading all the informational messages), to proceed to setting up the first parameter – “Gamma”.
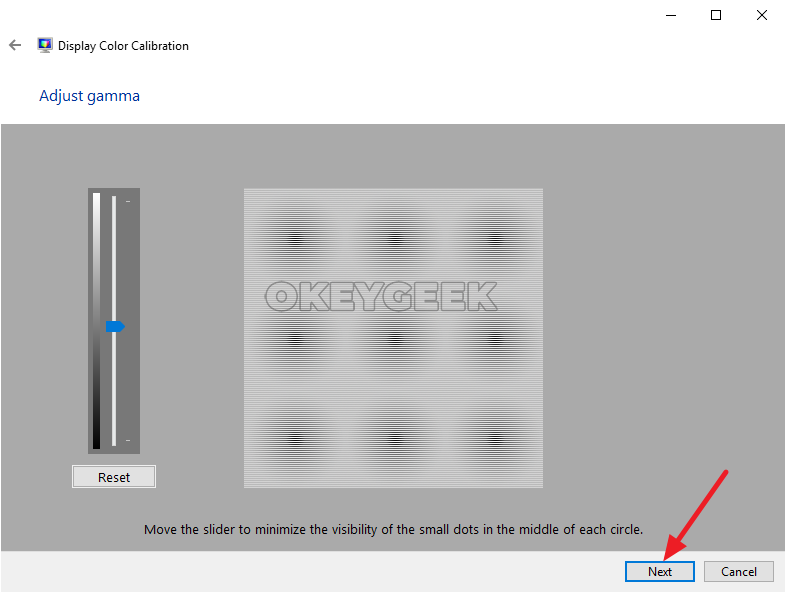
Gamma determines the ratio of primary colors (red, green, blue), as well as the intensity of their radiation. In the image calibration utility you are going to see 3 pictures that indicate how the low gamma differs from the high gamma. Click “Next” to start the configuration.
To adjust gamma it is proposed to use the slider in the left part of the window. Moving it up and down, you can make the scale higher or lower. Gamma is considered to be configured to transmit the most real colors, if the points displayed in the center of the screen are minimally visible. If you want to return to the original value, you can use the “Reset” button. When the setup is complete, click “Next” to proceed to brightness and contrast calibration.
You are going to see an informational message indicating that the brightness and contrast should be adjusted manually, adjusting the monitor settings. That is, you will need to use the monitor manual to understand which controls are responsible for the adjustment of the specified parameters. Press “Next” again to proceed to the contrast setting.
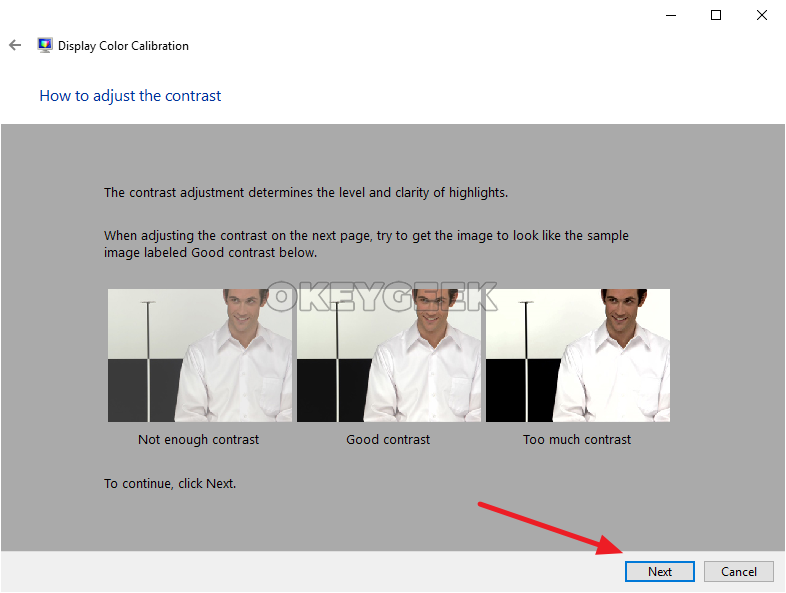
Another information window will open with information about what is the contrast and brightness of dark colors, and which settings can be considered optimal, and which ones are highlighted or darkened. Click “Next” to proceed to the setting.
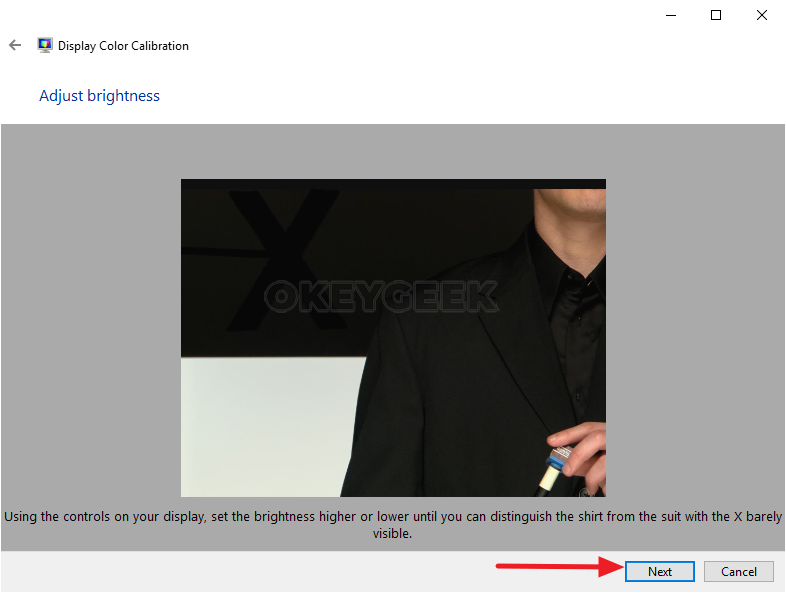
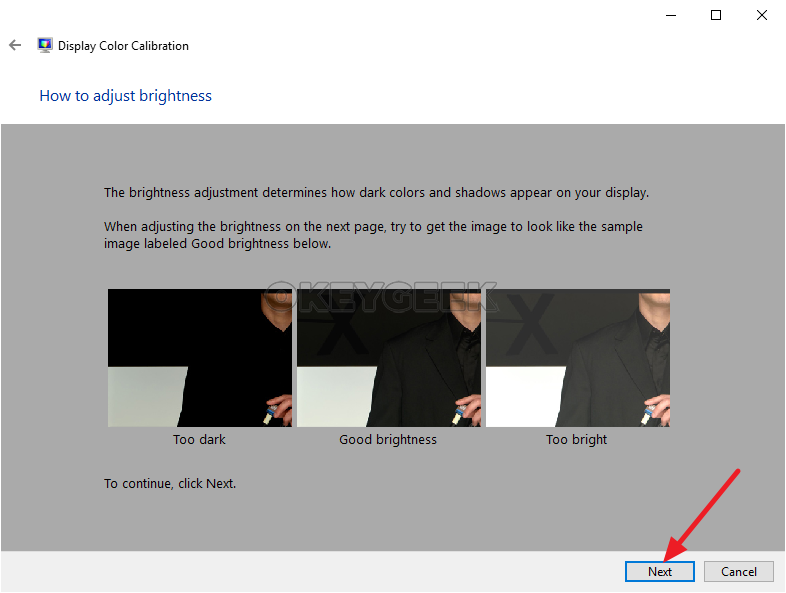
Now you are going to see a picture of a man in a black shirt standing against a black wall. Using the monitor’s brightness settings, you need to set the brightness and contrast levels so that the shirt does not merge with the wall, and the letter “X” displayed against the background is barely visible. When this setup is complete, click Next.
There will open a page with information about the contrast and brightness of light colors. Check it out and click “Next” again.
Using the contrast settings, you need to adjust the new test image so that the buttons and wrinkles on the white shirt of the man remain visible. After completing this setup, click “Next”.
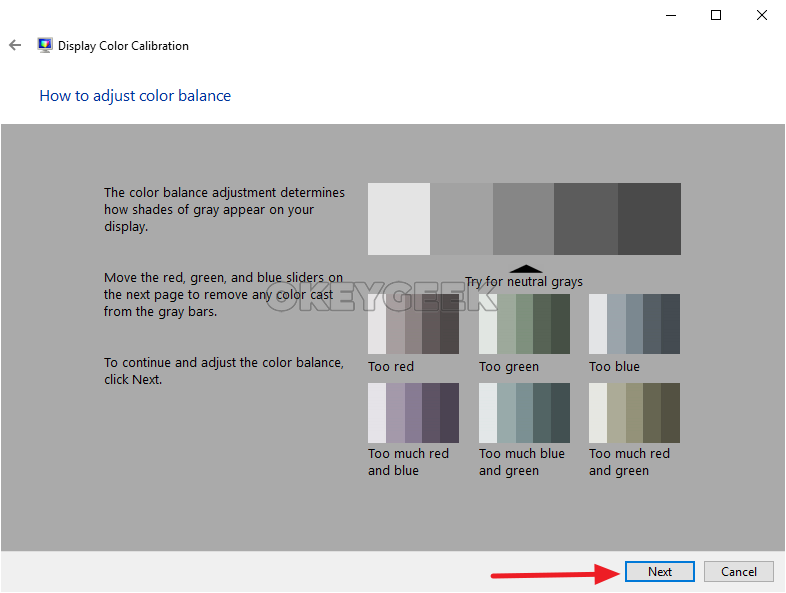
The next screen tells you what color balance is and how to set it up correctly. Settings can be made using the Windows tools that are available on the next screen. Click “Next” to get to them.
To adjust the color balance, it is required that the color highlights will not be present on the gray bars. To remove them, you can move the color sliders of the red, green and blue spectrum at the bottom of the window. After adjusting the perfect color balance, click “Next.”
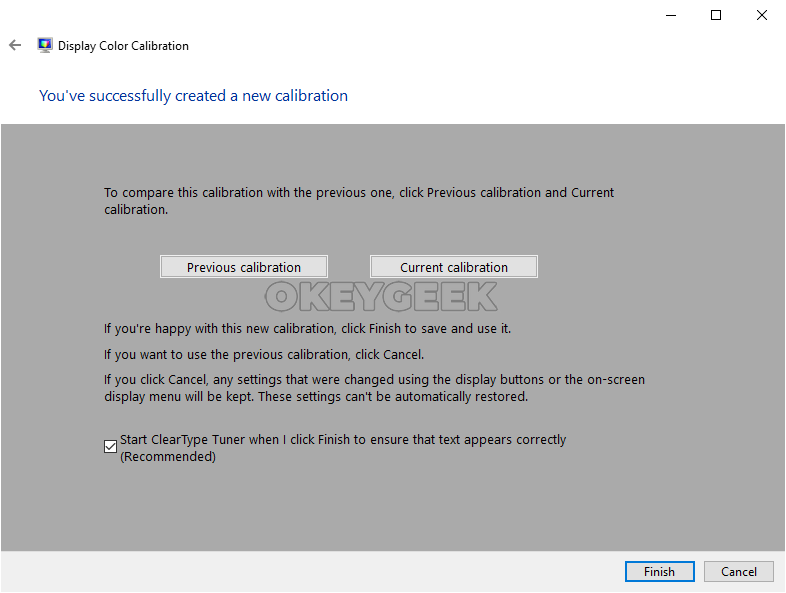
At this point the screen calibration utility in Windows 10 will offer you to compare the old calibration with the new one. Click “Previous Calibration” to see how much the new version differs from the previous one.
Click Finish to apply the new calibration. If the previous option is better, click “Cancel”.
Configure ClearType to calibrate the screen
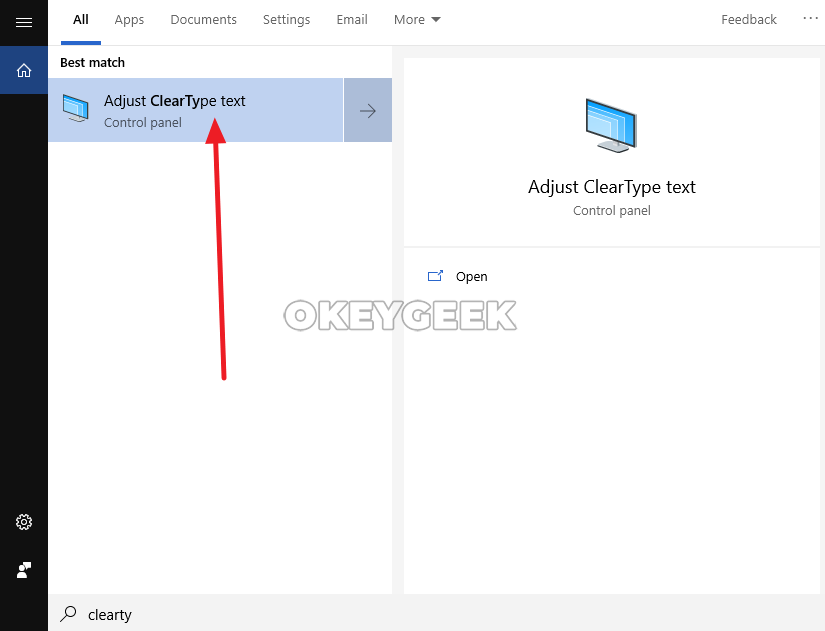
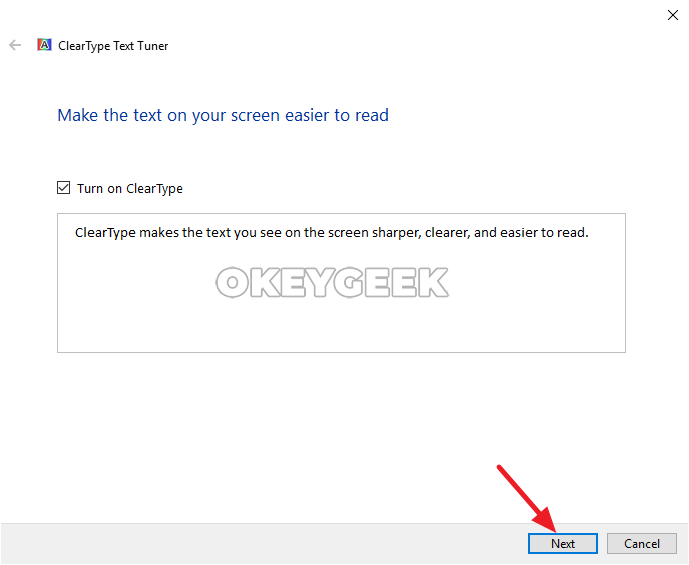
After screen calibration, it is also recommended to use the ClearType utility. This Windows tool allows you to customize the fonts quality. If you have not used the parameter to open the ClearType utility through the calibration utility, you can open the ClearType setting by searching for the corresponding query.
Open the ClearType utility, click “Next” to go to the settings.
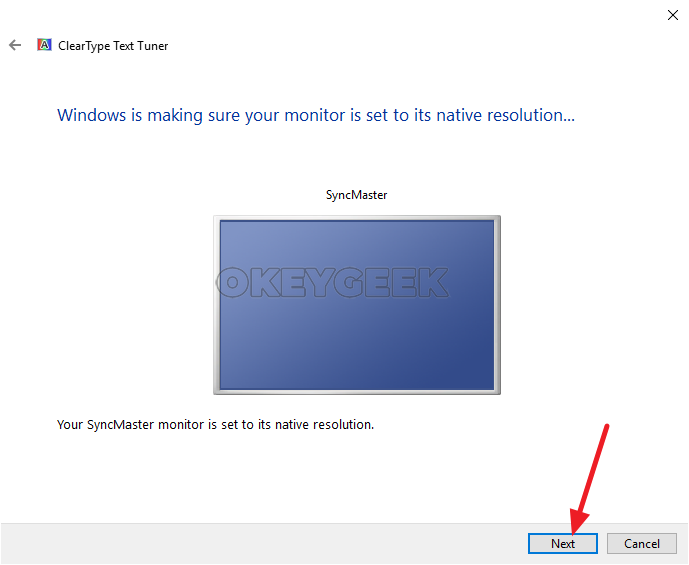
The first screen will run the resolution test. If the resolution is set correctly, it corresponds to the base one, the system will report this. Click “Next”.
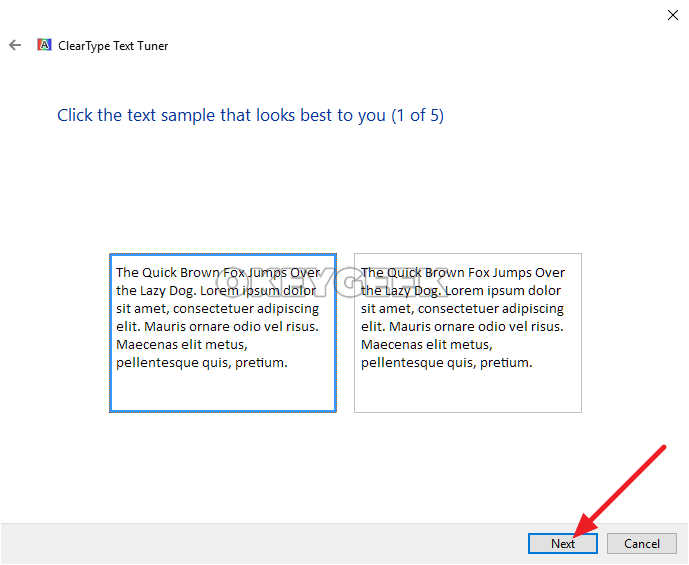
On the next screen, you need to select one of the text samples, indicating which one looks better on your monitor. Choose the best and click “Next.”
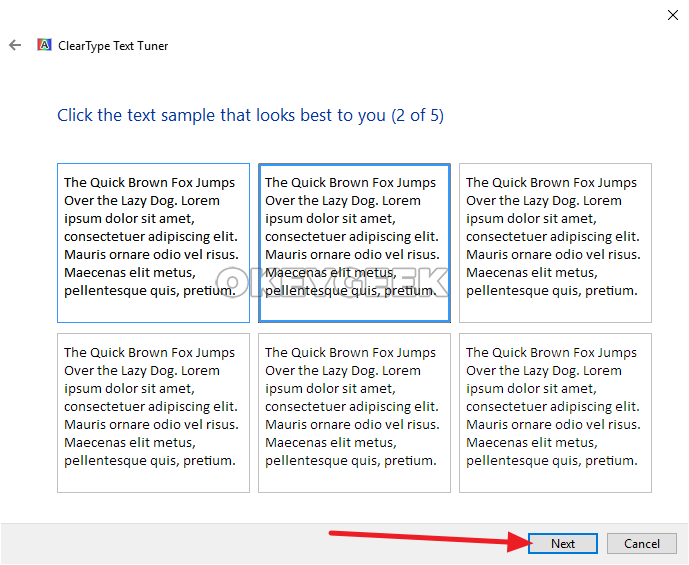
The next screen will offer 6 text samples. The task is the same – choose the best one and click “Next”.
The next screen offers 3 text options. Again, select the best and click “Next.”
The fourth setting again offers 6 text options. Choose the best and click “Next.”
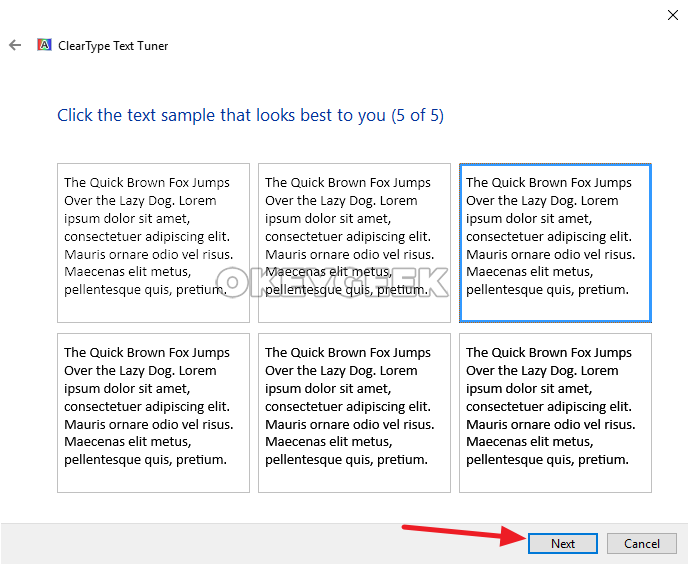
The final fifth stage also offers 6 text options. Choose the best and click Next.
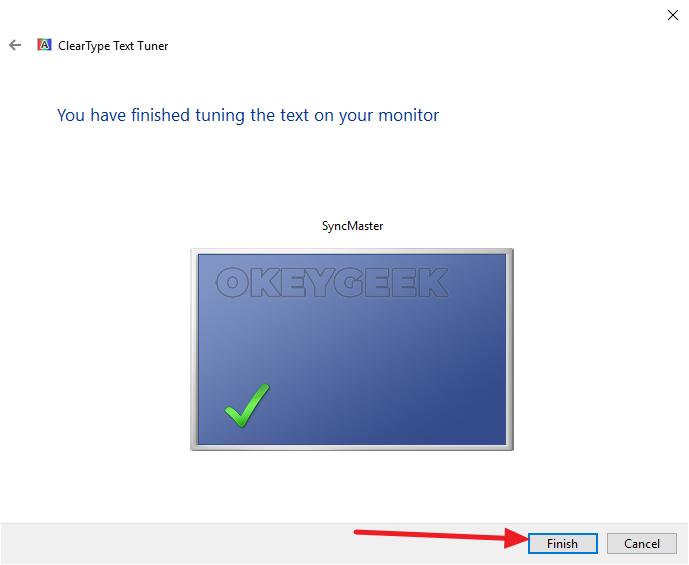
That’s it, the ClearType setting is complete. Click Finish to apply the changes.
After performing a screen calibration and setting up a ClearType, the image on the screen should meet your needs and expectations more closely.