If the keyboard is not cleaned right on time eventually you may start facing many problems and malfunctions. In this case most likely many keys will stop working properly or even get broken completely. If you are using a PC it will be quite enough to just buy a new keyboard, but if you have a laptop the solution will not be the same easy simply because changing keyboard for a laptop is much more expensive. To prevent this problems and to provide a perfect keyboard functionality you need to look after it properly, which includes regular cleaning. In this article we will show you how to clean a keyboard of your PC or laptop at home. From now on you will be quite able to do it by yourself without any special equipment.
Table of contents:
1. How to clean your keyboard from sweepings and dust
2. How to clear your keyboard from liquids and sticky mud
How to clean your keyboard from sweepings and dust
You do not need to disassemble your keyboard just to clean it, but it is very important that you will disconnect it form the PC. If we are talking about a laptop keyboard you will need to disconnect it from the electric socket and remove the battery. For good and effective cleaning it will be quite enough to buy a small vacuum cleaner (one of those that are usually used for cars or furniture) or a can with compressed air.
Aim the spray gun of the compressed air can to the spaces between keyboard buttons to blow away all dirt and dust that is collected there. While doing it use a small brush to take all the sweepings away. If you have a small car or furniture vacuum cleaner you may use it to take air from under the keys.
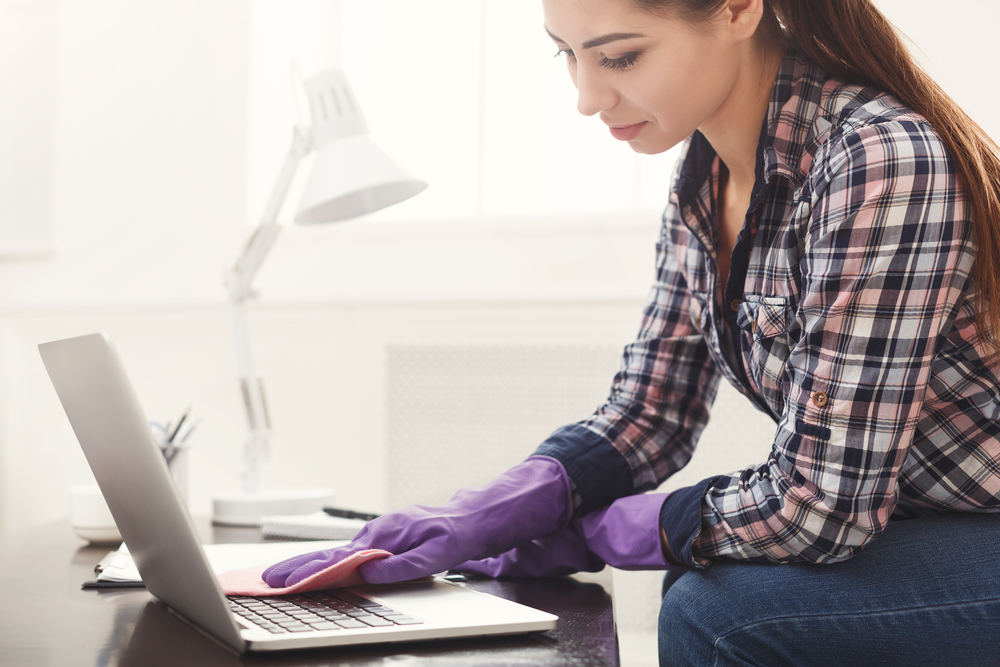
When dust and sweepings will be completely removed from the keyboard, you can proceed to cleaning the keys themselves from the dirt that had settled on them. To remove dirty plaque, you may use specialized cleaning products for monitors or disks that can be easily found at any computer store. Also any other cleaning products, based on isopropyl alcohol are quite suitable for your needs. Use them together with the common lint-free dump cloth.
How to clear your keyboard from liquids and sticky mud
To clean the keyboard from liquids and other sticky substances, first of all you need to disconnect it from the computer or turn off the laptop and remove the battery from it. After that, you need to disassemble the keyboard. Most often, to remove a key from the keyboard, it is enough to pull it from one of the corners with a sharp object – a screwdriver, a knife or something similar.
If not all keys are stuck you may remove only those with the problem. In this case, we recommend you to take a photo of your keyboard before you remove any keys, so that later on, during the assembling, you will have no doubts which key to install back.
After all the necessary keys are successfully removed you may start cleaning your keyboard. To do this, you can use any of the methods described above – compressed air, vacuum cleaner and isopropyl alcohol. Keys themselves, which most often simply represent a piece of plastic, need to stay for a while in some bowl with warm water. This way it will be easier for you to clean them from dust and dirt.
Fixing your keyboard back shouldn’t be a big problem. It is enough to put all keys right where they have been before. Each key must be gently pressed until you hear a click.
Large keys on the keyboard – for example Enter and Space – beside for the plastic base may have a metal part. You need to install this part correctly before attaching the key itself.