Table of contents:
1. How to disconnect power supply unit
2. How to connect power supply unit to the computer
How to disconnect power supply unit
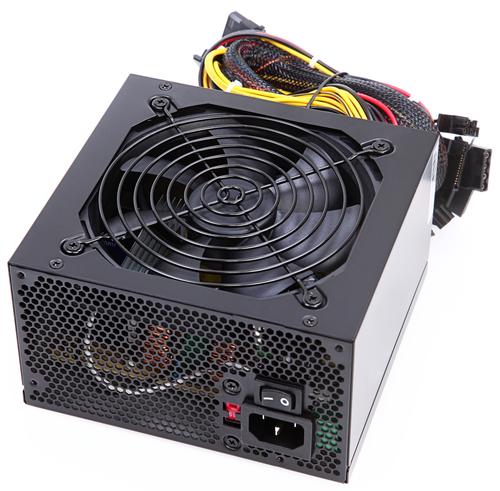
Before installing a new power supply unit, you must disconnect the old device from it’s place. It is a very simple procedure. Power supply unit itself is located at the top of the system case, more often at the end of it. If you will remove the cover from your case, you will see that there are a lot of wires connected to the power supply unit. To remove this unit you need to follow this steps:
- First, unplug the power supply from the electricity by removing the wire. After this is done we recommend to wait for 3-4 minutes, so that the accumulated electricity will dissipate for it not to harm the computer components when the power supply is disconnected;
- After that it is necessary to disconnect all wires that go from the power supply to the components of your computer. Here it is important to note that no wires have to be pulled from the power supply unit itself. Please note that wires may go not only directly to the motherboard, video card, disks and so on, but also to the adapters;
- And now the final step in the power supply unit disassembling – you need to remove it from the fasteners. Unfix the screws that are holding the power supply unit on the back of the case and then pull it out. We recommend to put the system unit on it’s side before you start disassembling. This must be done to ensure that when the screws will be loosened, the power supply unit will not fall on the video card and other computer components fixed on the motherboard.
At this point you may assume that the power supply unit is disconnected.
How to connect power supply unit to the computer
Connecting power supply unit to the computer is almost the same as disconnecting, but in the reverse order. It is important to plug all the wires coming from the power supply unit to the appropriate connectors very carefully. To connect the power supply unit you need to follow this steps:
- First of all, it must be carefully placed in the system unit case instead of the old power supply. It is extremely important not to drop the power supply unit on the motherboard or other computer components. It is better to put the computer on it’s side and carefully install the unit;
- Then carefully attach the power supply unit to the back of the computer case with screws;
- Now you may proceed to connecting all wires to the appropriate connectors. Let’s see which wires are available in almost every power supply unit:
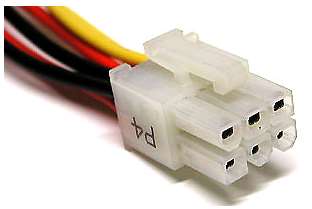
- 6- or 8-pin wire. Serves to power the video card. It is not always present, because some low-power graphics cards can work without additional power;
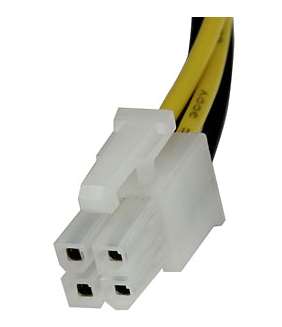
- 4- or 6-pin wire. This one is used to power the processor. It is connected to the motherboard;
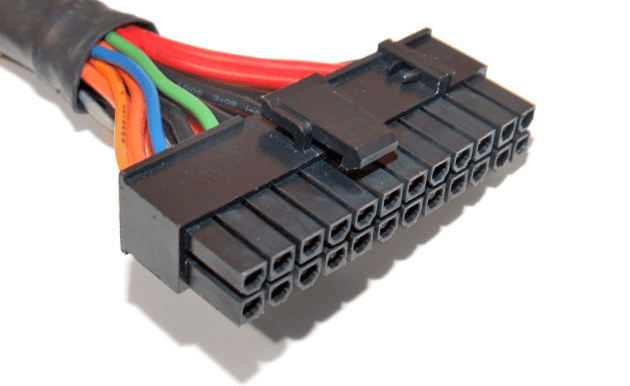
- 20-pin wire. Serves to power the motherboard. Sometimes there is additional 4-pin wire that also connects to the motherboard;
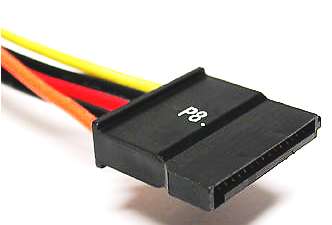
- Connector with SATA plug at the end. It is used to connect and power hard drives;
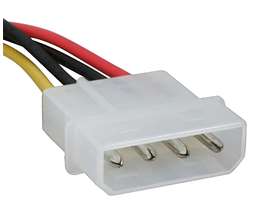
- MOLEX. An obsolete connector, which is now almost not used. Previously, it was used to connect hard drives with PATA connectors.
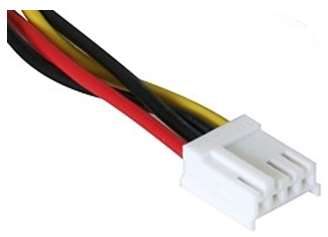
Some power supply units have only MOLEX connector. If this is your situation, and you need to connect SATA connector to the hard drive, you will need to use the adapter.
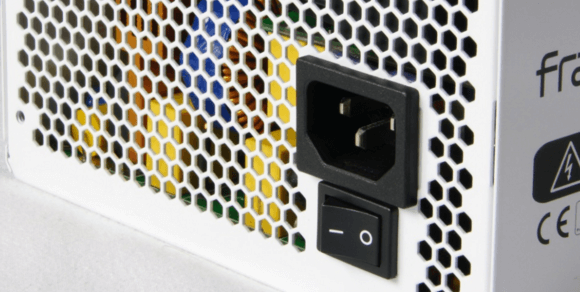
When all connectors are plugged, you can turn your computer on. Make sure that the switch on the power supply unit is in the “On” position. If all connectors were plugged correctly your computer should start without any troubles. If this does not happen, check if all connectors are plugged correctly and make sure that they are securely fastened.