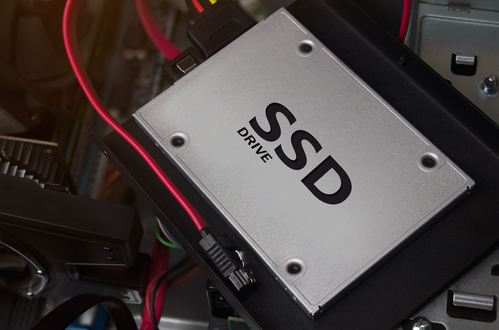
If you would like to increase the operating system speed, installing a solid state drive in a desktop computer or a laptop will be a great solution. It is not particularly important how fast your new SSD is, because even the slowest solid state drive is significantly faster than a standard HDD.
After you bought an SSD drive, it’s important that you will install it correctly. In this article we will tell you how to install the solid state drive in a computer or a laptop.
Table of contents:
1. How to install SSD drive in a computer system unit
2. How to install SSD drive in the notebook
How to install SSD drive in a computer system unit
Installing an SSD drive in a desktop system unit is almost identical to the HDD drive installing procedure, but with the exception of some small details. The main point is that the regular HDD for a desktop computer is 3.5 inches in size, whereas the SSD drive is 2.5 inches. So installing the solid state drive drive will require a special adapter, which can be purchased quite inexpensively in any computer store.
Generally the process of installing an SSD drive in a desktop computer’s system unit looks like this:
- Make sure that the computer is turned off before proceeding with the drive installation. You need to disconnect it from the power completely, which means that you have to pull the cable from a power supply unit or from the receptacle. Also do not forget to put the button in the “OFF” position on the power supply unit and hold the computer power button for 5-10 seconds (this must be done to completely disconnect all the circuits and get rid of the residual voltage);
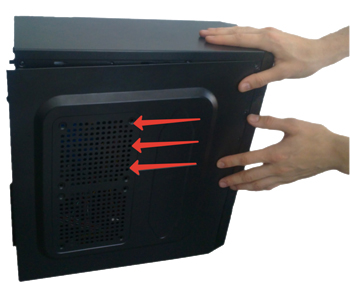
- After that, you need to proceed directly to the installation of the solid state drive in your computer. To do this, open the cover of your system unit (most often you will need to twist several screws);
- Next, if necessary, remove the old disk from the system unit so you will be able to install a new one on it’s place. If the installed drive (or drives) is in a good working condition, there is no reason to turn it off, most often in modern computer cases there are 3-4 slots for hard drives so it will be enough space for all of them;
- If there is no space to install 2,5-inch drive in your computer, you are going to need a special adapter. Install your drive in this adapter and then fix it and place it in the standard place for 3.5 inch drives in the computer’s system unit. It should be noted that some SSD drives come from the manufacturer with the adapters already included;
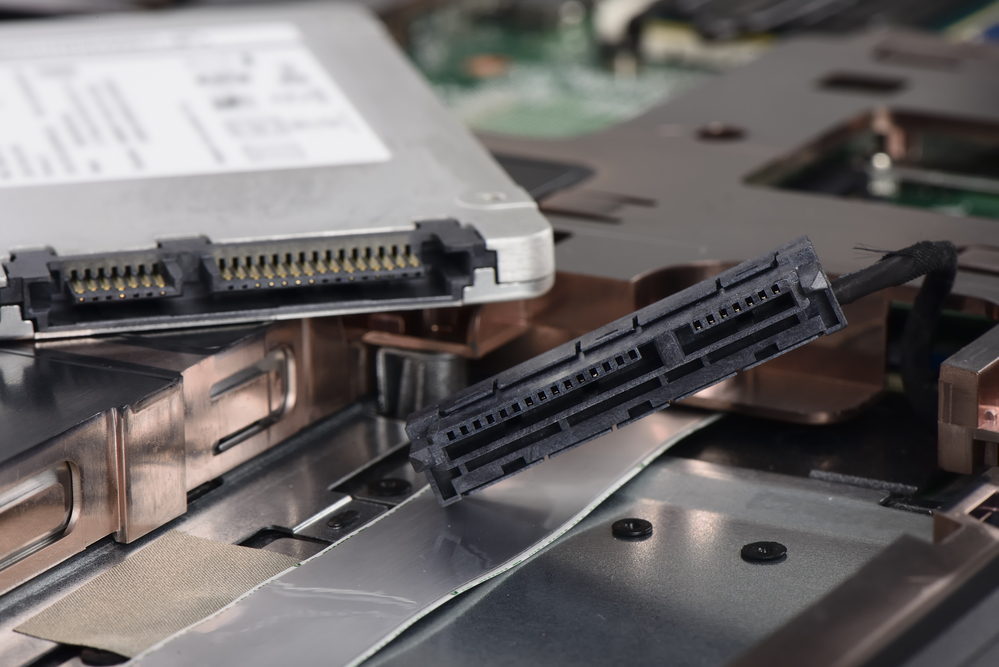
Secure the adapter with your SSD drive in the computer case using screws or latches, depending on the unit design; - Now use a SATA cable to connect the solid state drive to the motherboard. Note that the motherboard may have SATA connectors, which differ from each other by their throughput. It is important to connect the SSD drive to the fastest one, to determine which one is it, you may need to read manual for the motherboard;
- The final step of installing the SSD drive is to connect the power cable to it.
When all steps that we described above will be completed, you should be able to proceed to the SSD drive configuring. To do this, go to the BIOS and select the AHCI mode for the installed SSD drive. If you are planning to use your SSD drive for the operating system, install it first in the boot drive list and install the operating system (or transfer Windows from the old disk to the new one).
How to install SSD drive in the notebook
Installing a solid state drive in a laptop is an extremely simple procedure that takes no more than 10 minutes if everything is done correctly. The fact is that laptops initially do have 2,5 inch drives already installed so there will be no additional effort required to properly fix the new SSD drive. All you need to do to install a solid state drive in a laptop is:
Disconnect your laptop from the power source and remove the laptop battery from it; - Find instructions on how to get a hard drive out of your particular laptop. Most often this is done quite simply and the drive “hides” under a separate lid. It’s enough just to turn the laptop over, loosen a few screws, take off the lid, remove the originally installed HDD and then replace it with an SSD drive of your choosing. Since there may be some certain nuances in each laptop, we recommend that you first read the instructions written specifically for your computer model.
After your new SSD drive had replaced the HDD drive, you will need to install the operating system. You can do it from a flash drive or a disk.