Not everyone knows that dictation on iPhone is a built-in feature. It is often just disabled. In this article we are going to tell you how to enable it, and what commands you need in order to use it as quickly as possible and to type your texts properly.
When and how you can use dictation on iPhone
There are a lot of options for using this function. In fact, it makes it possible to type texts by dictating in any application on the iPhone – you just simply say a phrase or a sentence by voice and it will be converted into text.
Please note: In extremely rare cases, this function may not work in some applications.
You can think of dozens of scenarios where dictation on an iPhone comes in quite handy:
- If you are driving and need to respond to a message urgently;
- If your hands are busy or dirty, but you need to reply to a message;
- When you need to write a large text that is quicker to say;
- With poor eyesight, the voice dictation can also be very helpful.
Please note: Now in many messengers it is possible to send audio messages. But this is not always convenient for the user who receives them. It is often better to dictate a message with a voice than to send an audio message.
How to enable dictation on iPhone
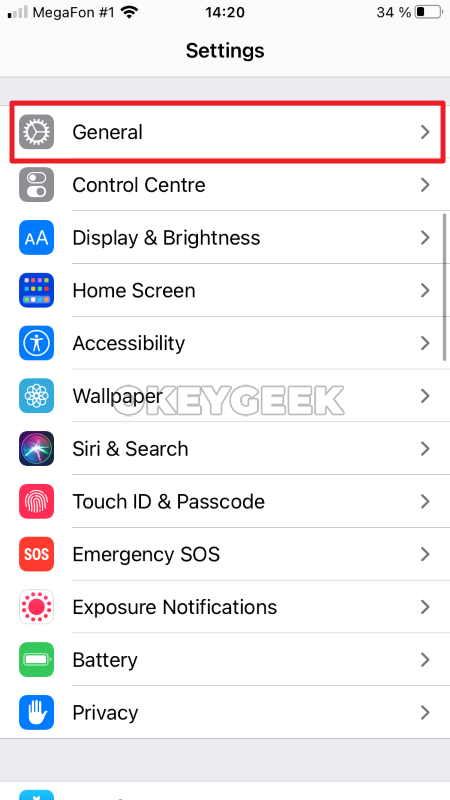
To activate this feature on iPhone, go to settings and select “General”.
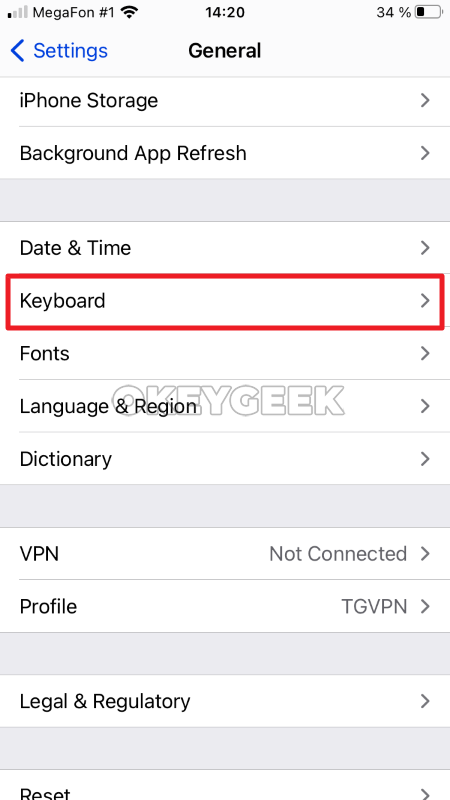
Go to the “Keyboard” section.
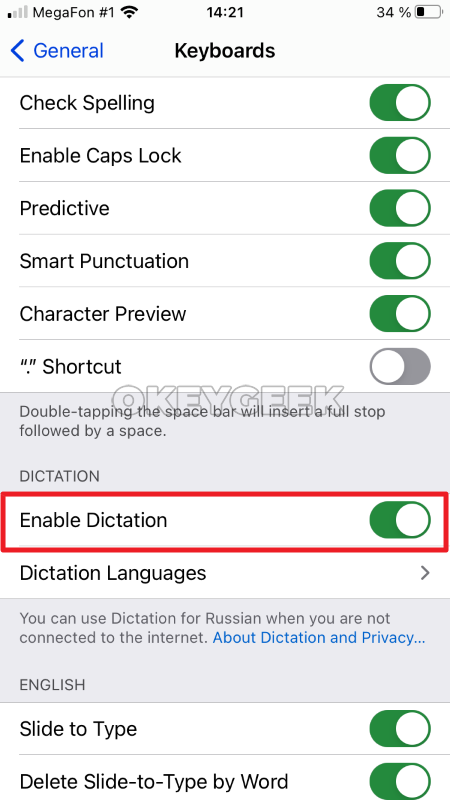
Scroll down. There will be a “Dictation” section. Click on the switch next to “Enable Dictation” to activate the function.
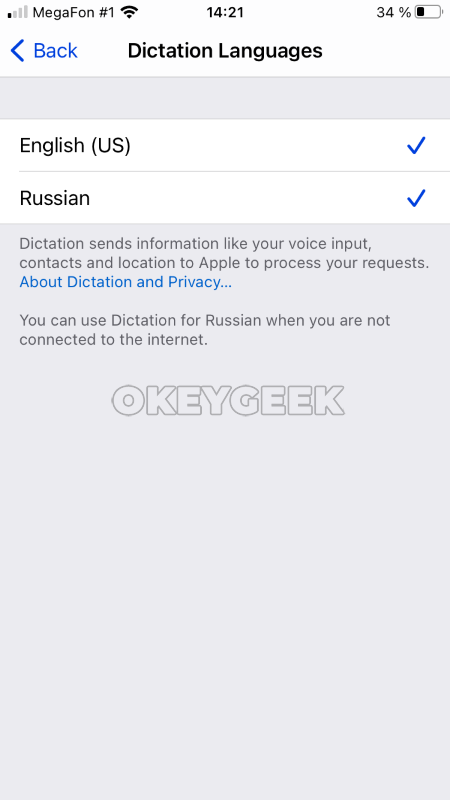
Next, click on “Dictation Languages” to enter the settings, where you can see the available languages. Select the ones you need.
Please note: If 2 languages are selected, the iPhone will independently try to recognize which language this or another spoken word belongs to.
How to use dictation on iPhone
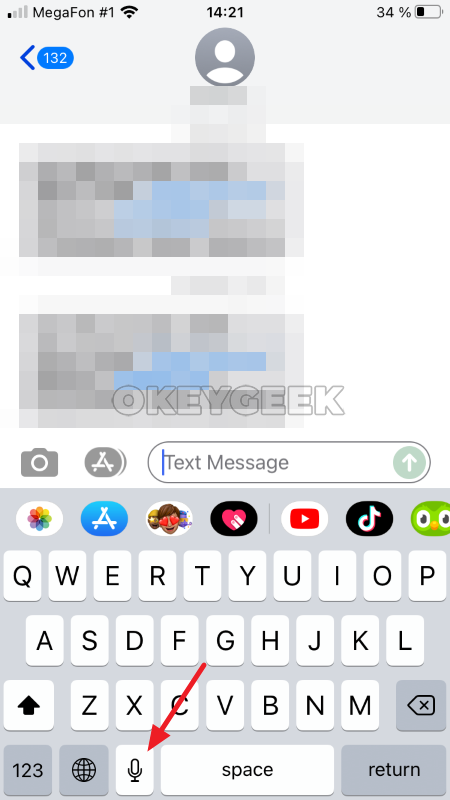
Once you activate the dictation function, you can start using it right away. To do this, you need to go to any application where you can call the keyboard, and click on the corresponding icon.
For example, you go to the “Documents” application and click on the dictation icon – it’s to the left of the space.
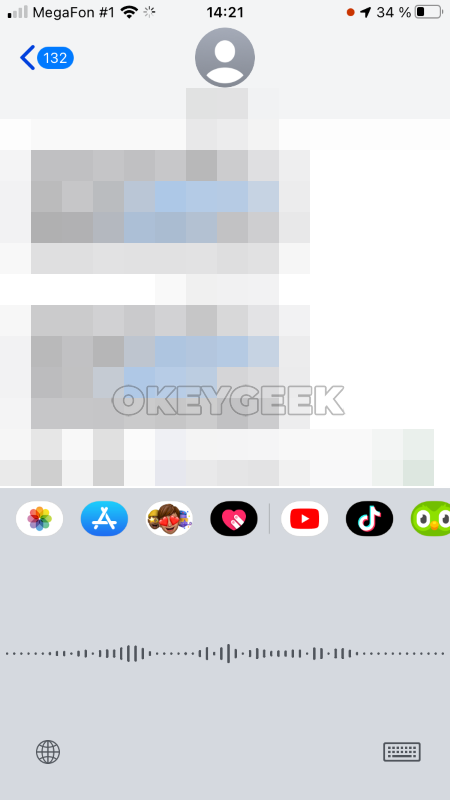
The panel with the dictation operation display function turns on. Start dictating the text.
Please note: The dictation function on iPhone allows you to improve your pronunciation of words, as the device will not be able to recognize poorly spoken words.
The text will gradually appear in the input box. It is worth noting that as new words appear, the previous words and phrases may change. This is because the device understands the context of the sentence and adjusts the words to fit the context.
Punctuation marks and helpful commands
During the dictation, you will need to use punctuation marks and various commands so that the final result has a convenient structure for the reader. Here are some important commands to help you write literate text:
- “New line” – moves the input cursor to a new line;
- “New paragraph” – adds a new paragraph to the text, the insertion cursor is automatically positioned at the beginning of this paragraph;
- “Include all capital letters” – after that all text will be entered in capital letters until you say “Disable all capital letters”;
- “Number” – the next phrase will be entered as a number. For example, say “Number three hundred and fifty” and it will display “350”, and if you don’t say “Number”, it will write “three hundred and fifty”.
You can also use all popular punctuation marks – period, comma, hyphen, colon, dash, and so on. It is enough to just name the punctuation mark, the dictation knows all the main ones.
To open or close a bracket, just say “Opening bracket”, “Closing bracket”.
Please note: You can insert various emoticons with dictation, just name the desired emoticon, for example, “Winking emoticon”.