Table of contents:
1. What happens when the device is safely removed
2. How to safely remove hardware from your computer
3. The Safely Remove Hardware icon is not displayed in the taskbar.
4. What has to be done in case the Safely Remove Hardware icon disappeared
What happens when the device is safely removed
Many people do not use the Safely Remove Hardware function, which is a mistake, because it is actually quite useful. When you click on the “Safely Remove Hardware” button, the operating system accepts this request, and then interrupts all operations that are performed with the device. When operations are terminated, the power supplied to the device is reduced (not true for all devices).
Using Safely Remove Hardware function allows you to save recorded data and also minimize the chance of burning your gadget out.
How to safely remove hardware from your computer
There are several ways to safely remove a device from a computer. Many users believe that this is always happening only with the help of the corresponding icon in the taskbar. Indeed, this method is the most convenient and common.
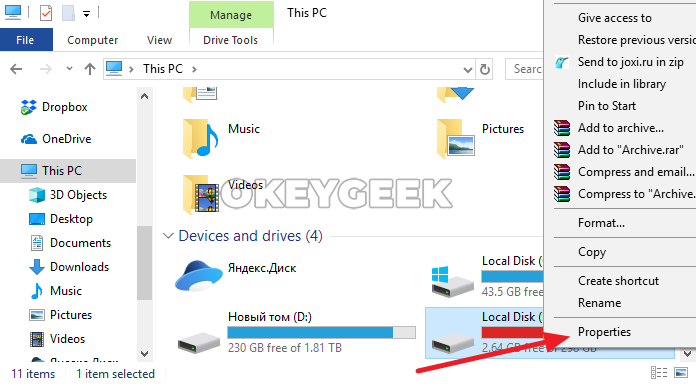
But there is a second way – a little more complicated, but it is suitable if you rarely need to safely remove this or another device, and the icon in the taskbar for some reason is not displayed, or it is turned off on purpose. To safely remove the device, launch Explorer, and in the list of disks, right-click on the disk that you want to safely remove. Go to “Properties” from the drop-down menu.
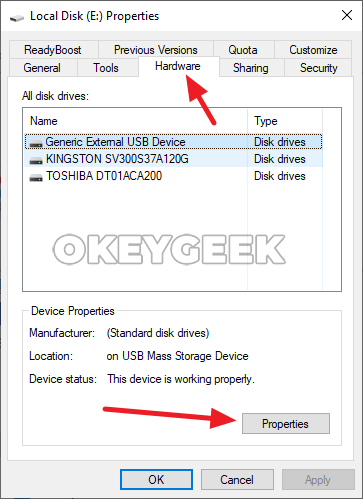
Switch to the “Hardware” top tab. Select the desired drive and click on the “Properties” button below.
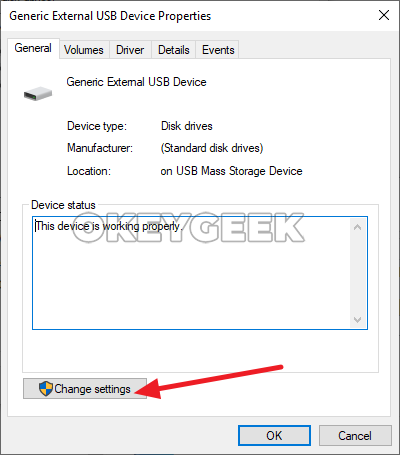
In the new window that opens, click “Change settings”.
Next, go to the “Policies” tab. Here, near the “Better performance” item you should be able to find an active link that says “Safely Remove Hardware”. It can be used to safely remove selected device from your computer.
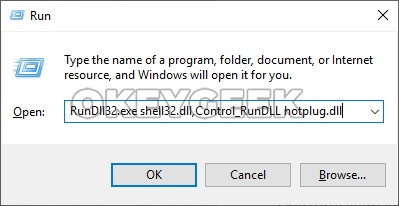
There is also a third way to launch a window to safely remove any device – using the “Run” line. This is what you will need to do:
- To run the “Run” line, just press the Win + R keys combination. Next, execute the following command in the line: RunDll32.exe shell32.dll, Control_RunDLL hotplug.dll
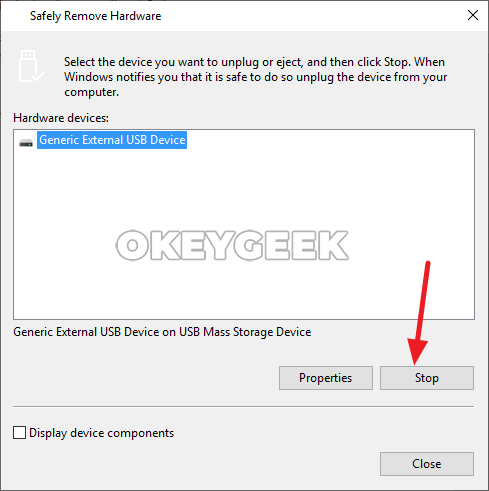
- There will open the Safely Remove Hardware window. In this window you need to select the desired device and click “Stop”;
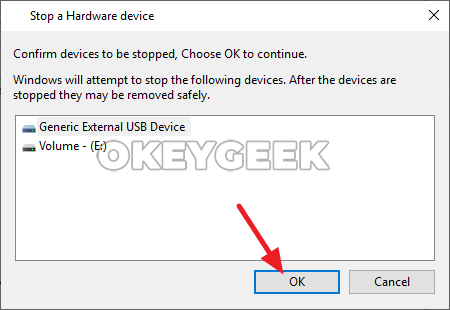
- Now you are going to see a window with a list of devices to be stopped. Click “OK” to stop the device.
These three methods allow you to remove devices from a computer with the same efficiency.
The safely remove hardware icon is not displayed in the taskbar
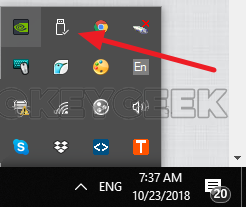
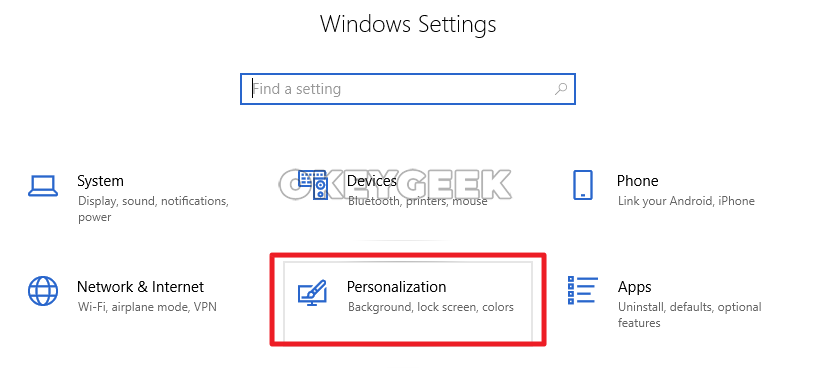
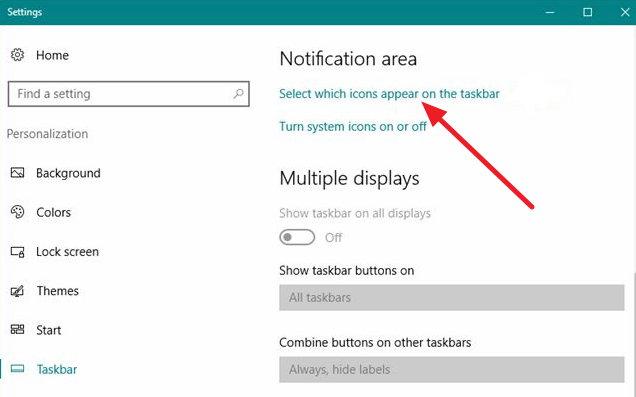
In Windows 10 the Safely Remove Hardware icon is always displayed in the taskbar. But as a result of various manipulations with the system optimization, the user may independently or with the help of some third-party programs hide this icon. It is quite easy to make sure that the Safely Remove Hardware icon is active. You need to go to the “Parameters” and then to the “Personalization” section.
Select “Taskbar” subsection on the left side of the screen. Scroll down a little bit through the list of settings, and under the “Notification Area” heading, click on “Select which icons appear on the taskbar.”
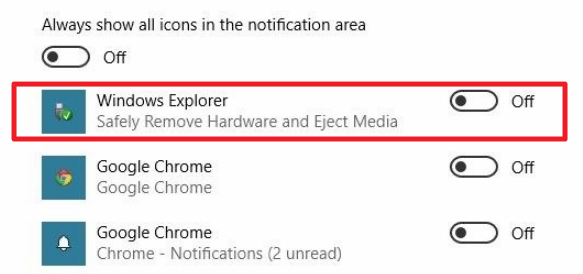
Next you need to find “Windows Explorer. Safely Remove Hardware and Eject Media” in the list of displayed icons, and put it into active state if it is turned off.
What has to be done in case the safely remove hardware icon disappeared
If the Safely Remove Hardware icon is not displayed in the taskbar, you can try to return it using the official Microsoft utility. This is what you will have to do:
- Download the Windows USB Troubleshooter utility from Microsoft;
- Run the utility. It does not require installation. On the first screen, click “Next”;
- There will start a detecting process. After some time, you will be asked to choose a device that is defective. If the task is to return the Safely Remove Hardware icon, select all the items available on this screen and click Next;
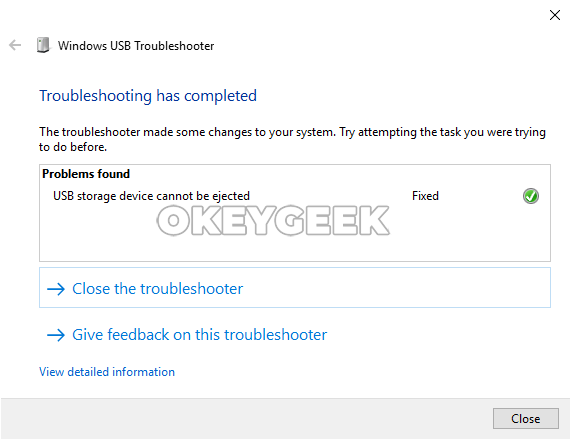
- Now the process of correcting errors had started.
After that, the external connected device will be removed. If you insert the device back into the USB connector after performing the above steps, it is likely that the Safely Remove Hardware icon will be displayed.