Table of contents:
1. How to install a new font in Mac OS
2. How to remove a font in Mac OS
How to install a new font in Mac OS
To install fonts, you must first download them from the Internet to your computer. If the fonts are compressed, they need to be unzipped. At the moment, there are 2 main types of font files: TTF and OTF. Where OTF is more modern format, but Mac OS is able to work with both of them just fine.
There are two ways to install fonts on Mac OS:
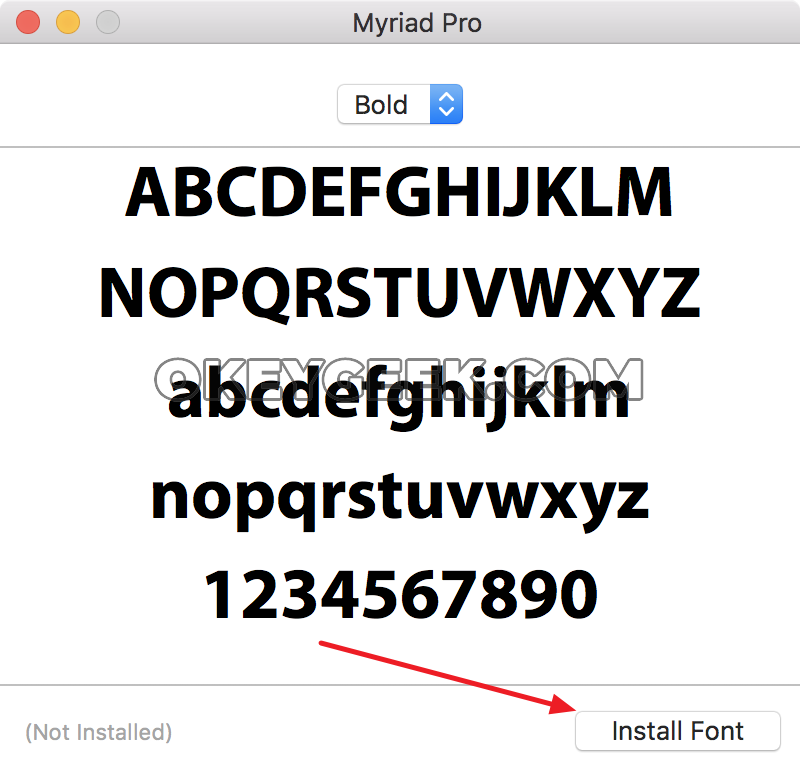
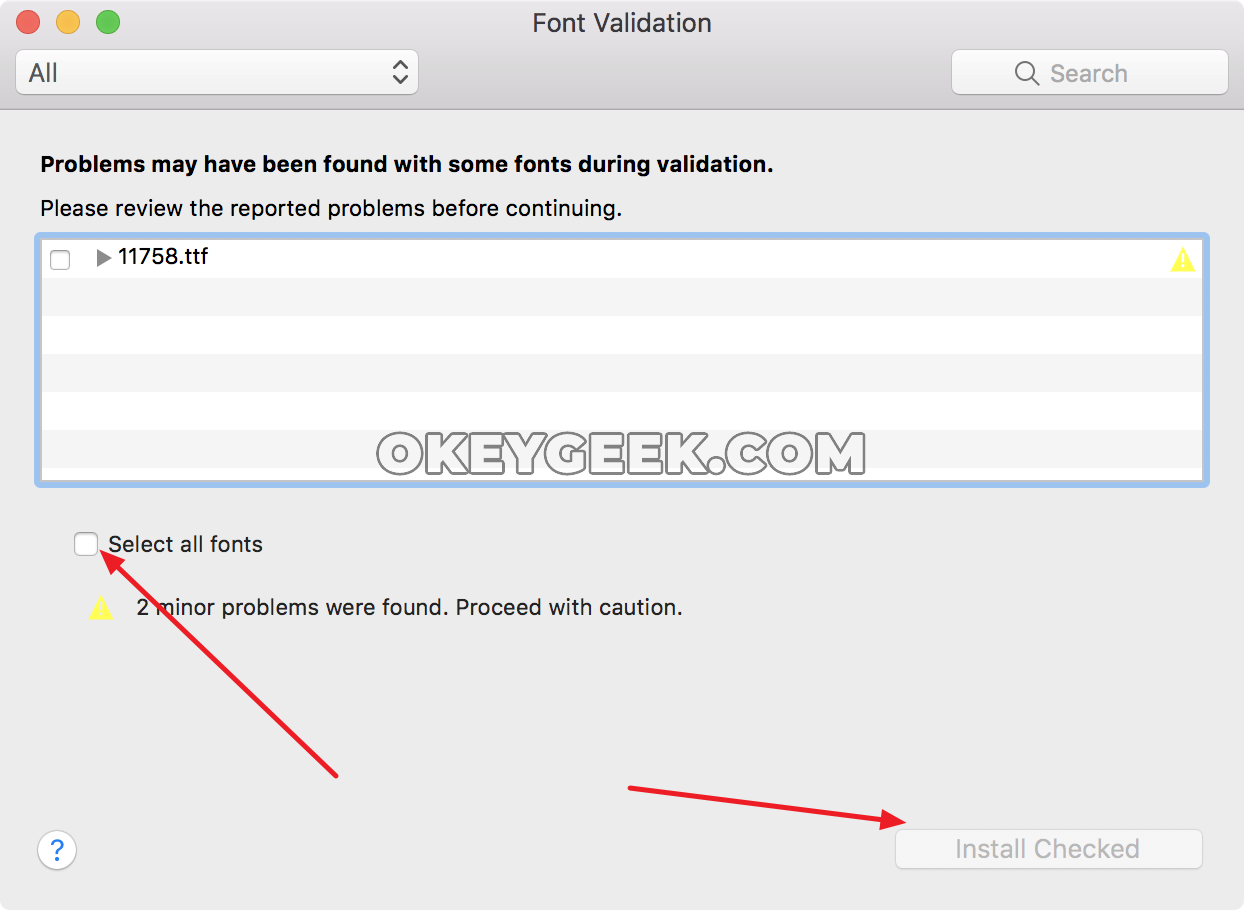
Way 1. Open a downloaded TTF or OTF file. There will open a preview of the font and then you will need to click “Install Font”. After that, the font of your choosing will be installed.
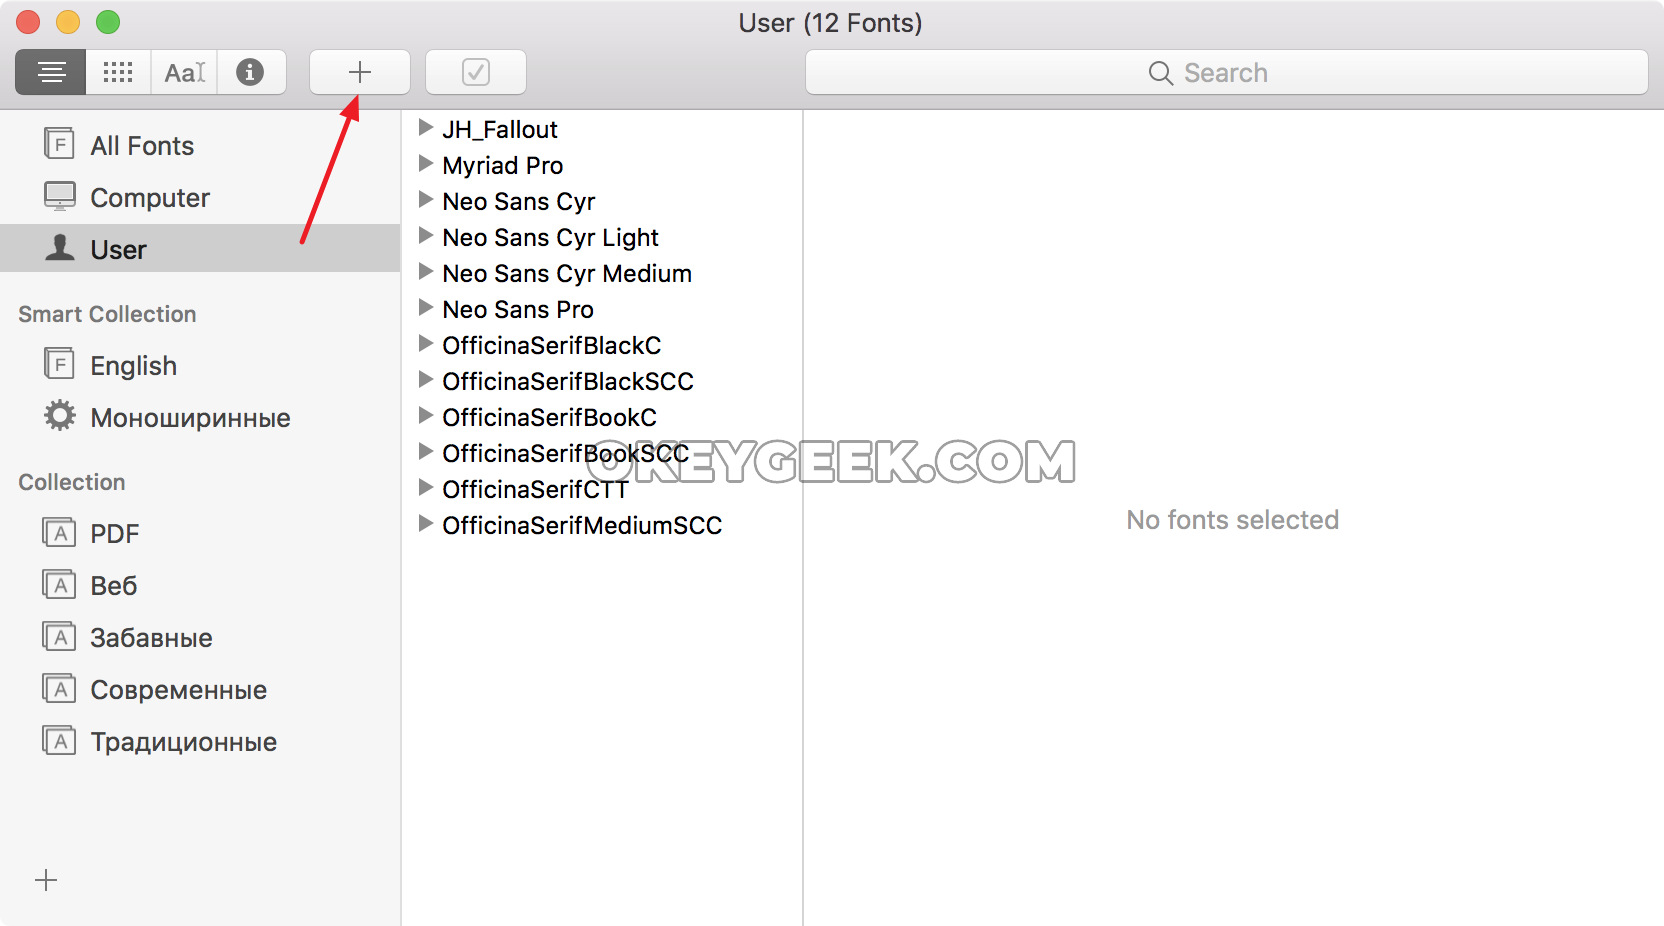
Way 2. Also you can install fonts through the “Fonts” utility built into Mac OS. To call it, you can use the search. Open the “Fonts” utility, then click on “+” to start searching for fonts at your computer. Find the desired font and confirm the order to install it.
How to remove a font in Mac OS
It happens that in search of a desired font, user installs on his computer hundreds of different fonts , many of which he will never use in the future. However, these fonts will appear in different applications when selecting a font for this or anoter text. There are 2 ways to solve this problem on Mac OS through the “Fonts” application:
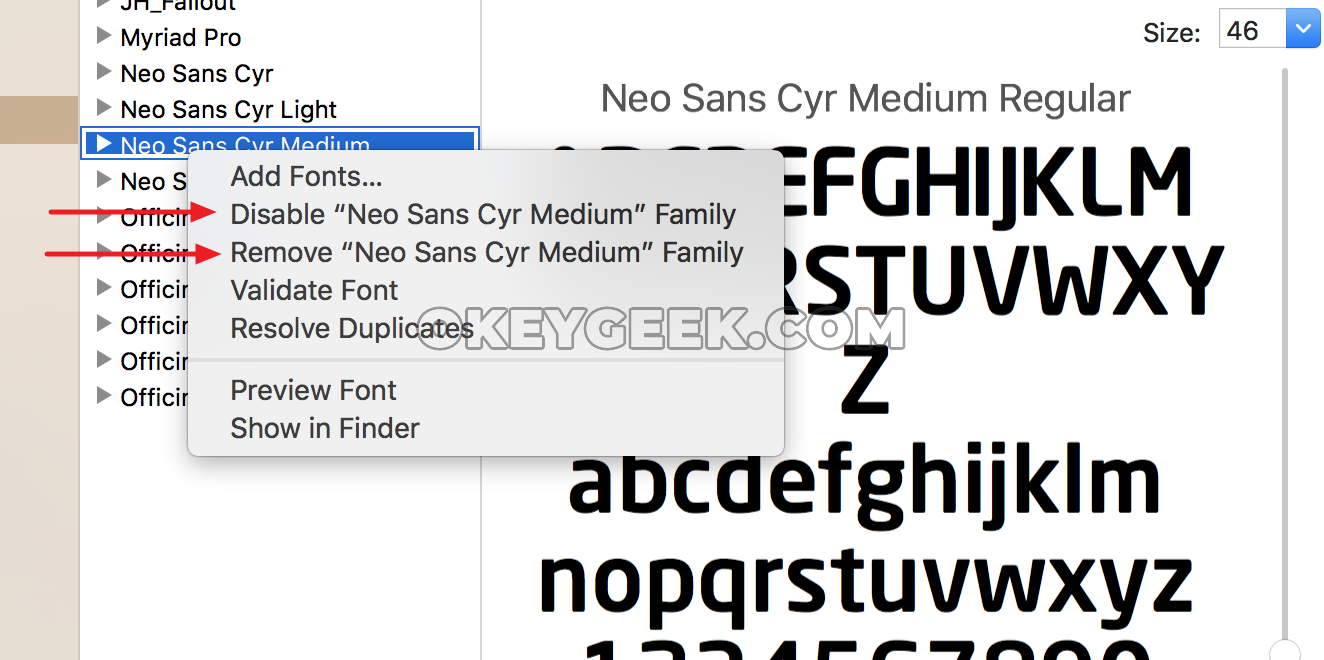
- Disable fonts that are not needed. Any installed font can be simply turned off. To do this just right-click on one of the fonts and select “Disable * font name *” option in the “Fonts” utility. If you click directly on the font family, you will turn off all the fonts from this family at the same time. You can also disable fonts if you click on the checkmarked button at the top of the “Fonts” utility.
- Remove fonts that are not needed. The second way is more radical than the font disabling , and it implies the irreversable font removal . To delete a font or a font family, right-click on the desired object and select “Delete * font name *”. After that, the font will be permanently deleted from your computer.
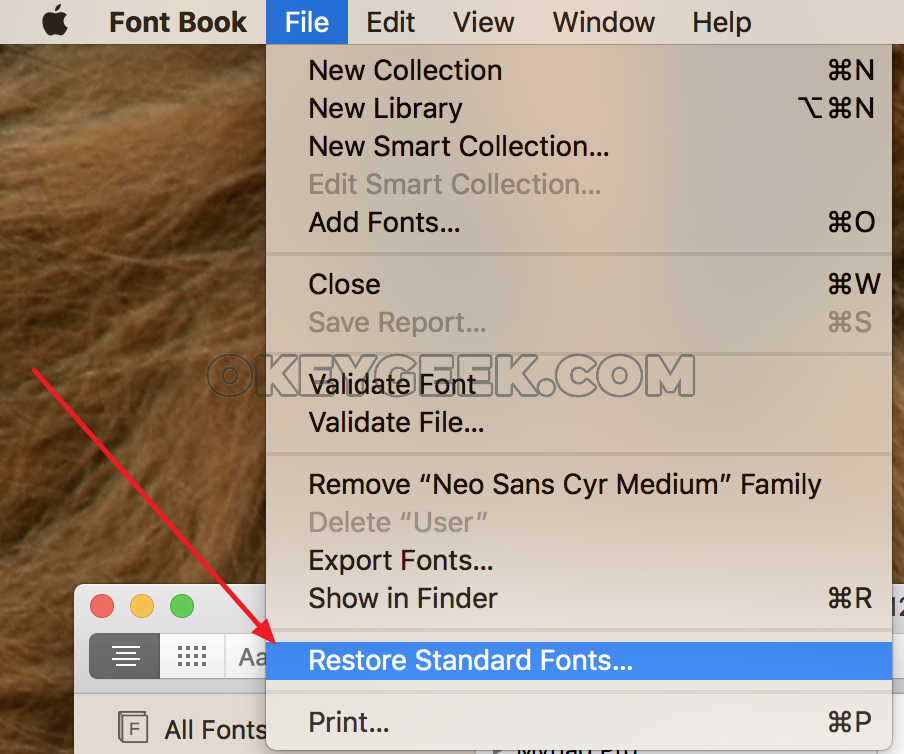
It is also good to mention one more feature that is present in the “Fonts” utility. We are talking about “Restore Standard Fonts”. If you have removed the system fonts that are actually required, or you have installed too many new fonts that are not required, you can restore the original list of fonts available in Mac OS. To do this, click the “Files” button in the “Fonts” utility and select “Restore Standard Fonts”. Then you will only need to confirm the order, after which all non-standard fonts will be removed from the system.