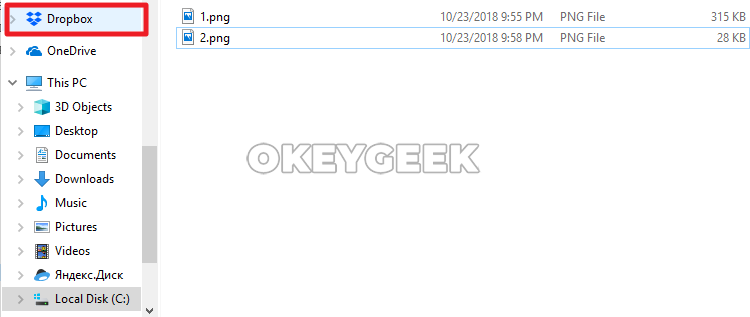
It is believed that users should conveniently place files into OneDrive and get them out of it if the service is implemented directly into the File Explorer. But it happens that only a small amount of Windows users actually use OneDrive, because the service has a huge number of competitors – Dropbox, Google Drive, Yandex.Disk, and others. In the same time it is impossible to remove OneDrive from the File Explorer just by standard means.
In this article we will look at two ways to remove OneDrive from File Explorer so that it will not disturb you from using the operating system.
Table of contents:
1. How to remove OneDrive from file explorer via registry
2. How to remove OneDrive from file explorer via group policy editor
How to remove OneDrive from file explorer via registry
The first way is suitable for users with any Windows 10 iteration. For the OneDrive folder not to be intrusively located in the Explorer’s structure, it is enough to make small changes to the Registry of the operating system. Before you do this, we recommend creating a restore point that will allow the system to return to its original state if something goes wrong. Removing the OneDrive folder from Windows Explorer using the Registry goes by the following script:
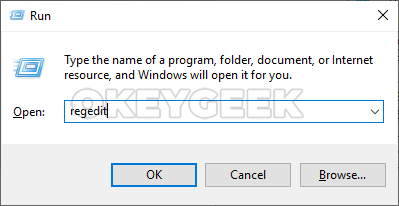
- First you need to run the Registry Editor itself. To do this, press the keyboard shortcut Windows + R and use the regedit command;
- The next step is to search for the file where you need to make changes. In the left part of the Registry there is a folder structure, in this structure you need to follow along the path:
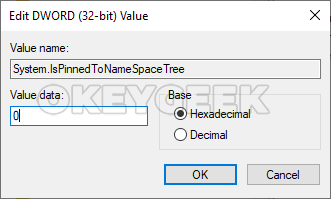
HKEY_CLASSES_ROOT\ CLSID\ {018D5C66-4533-4307-9B53-224DE2ED1FE6} - Having opened the necessary folder, in the right part of the window you will see a file called System.IsPinnedToNameSpaceTree;
- Double-click it with the left mouse button to open the parameters editing window. In the “Value data” column change number “1” to “0” and click “OK”.
- If your computer uses a 64-bit Windows 10 operating system, you will have to perform one more action – change the value for System.IsPinnedToNameSpaceTree unit from one to zero, but in the section:
HKEY_CLASSES_ROOT\ Wow6432Node\ CLSID\ {018D5C66-4533-4307-9B53-224DE2ED1FE6\ After all the changes described above have been made to the Registry, you only have to restart the computer for the changes to take effect. After the reboot, you will see that the OneDrive item is removed from the Explorer.
How to remove OneDrive from file explorer via group policy editor
As you know, the Group Policy Editor utility is the prerogative of those users who have advanced Windows OS versions, such as “Pro” and “Enterprise”. This utility allows you to perform many scripts (in the regular Windows version it is possible only by interfering with the Registry). Removing OneDrive from Windows Explorer through the Group Policy Editor goes as follows:
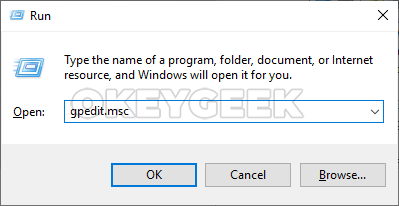
- Start the Editor itself. To do so click on the Windows + R keys on your keyboard, and in the opened window use the msc command;
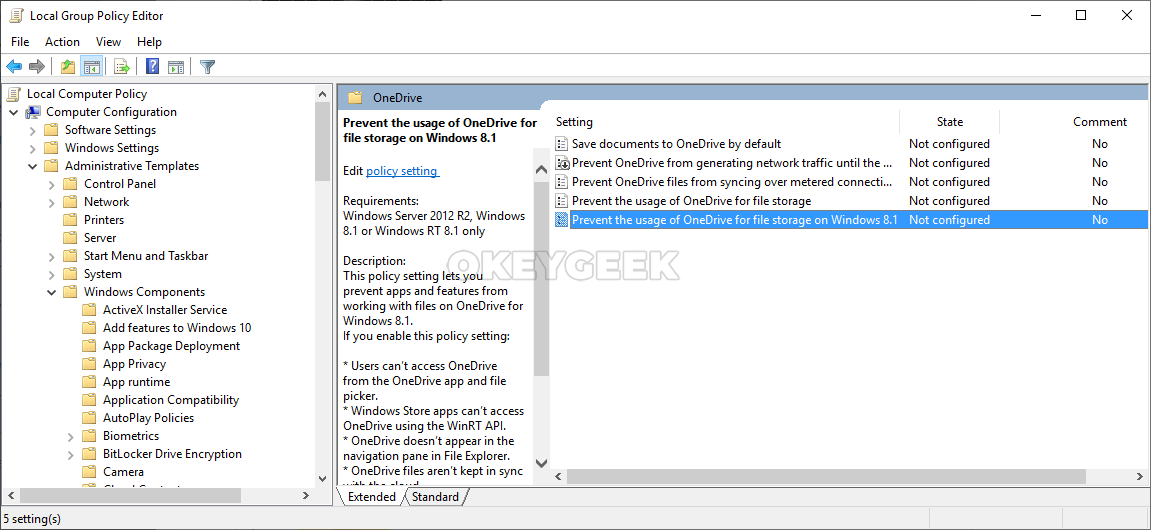
- There will open a window with Windows components on the left. It is necessary to proceed along this structure to the “Prevent the usage of OneDrive for file storage on Windows 8.1” parameter, which is located at the following address:
Computer Configuration - Administrative Templates - Windows Components - OneDrive
- Double-click this parameter to open its properties. Select the “Enabled” option for this parameter in the upper left corner and save the changes.
After that, the “OneDrive” cloud folder will disappear from the Explorer.
It is important to note that both of the above options do not remove the OneDrive from the computer, but only hide it from the structure of Windows Explorer.