Table of contents:
1. How to open "Network and Sharing Center" through the settings
2. How to open "Network and Sharing Center" using control panel
3. How to open "Network and Sharing Center" through the "Run" window
How to open “network and sharing center” through the settings
Microsoft is trying to place all the settings in Windows 10 updated parameters. And from there any user can already get to the familiar utilities. Network and Sharing Center can also be opened through the settings. This is what you will have to do:
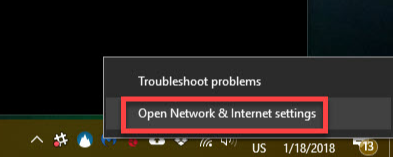
- In the notification area you will need to open the connection context menu by right-clicking on the Wi-Fi icon. Then select “Open Network and Internet settings”;
- At the Network Information tab you will see Windows 10 standard settings. The “Status” tab selected in the left menu will be immediately accessible. Slightly scroll down the opened window and here you will see the “Network and Sharing Center” button. Click it.
After that immediately there will open a standard utility for setting up the network. As you can see, Microsoft did not change it for the new interface of Windows 10, leaving it in its usual form.
How to open “network and sharing center” using control panel
Just like before, you can open the “Network and Sharing Center” settings through the “Control Panel”. However, difficulties in the updated versions of Windows 10 arise when you are trying to find the control panel itself. We recommend that you act as follows:
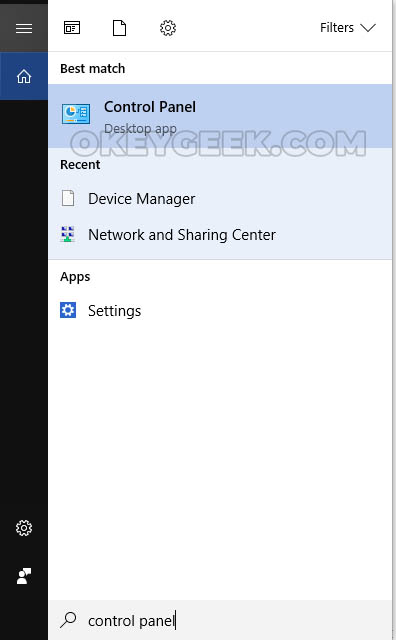
- Launch “Control Panel” through the search. To do this, in the lower left corner of the screen, click on the magnifying glass, then enter “Control Panel” and click on the result;
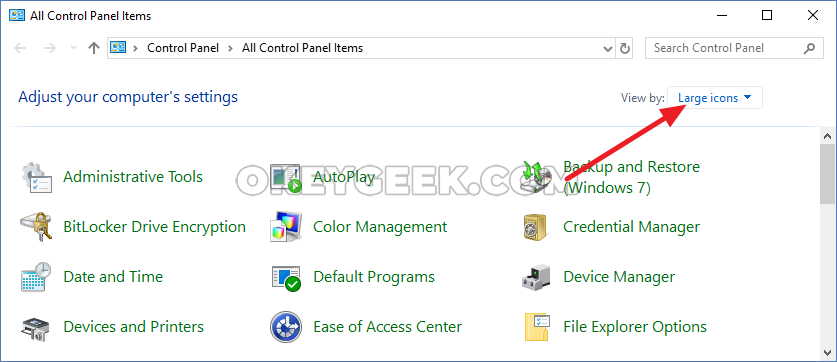
- Now you have opened the control panel. If information in the utility is displayed through the categories, switch to “Large icons” – this can be done in the upper right corner;
- Next, select “Network and Sharing Center”.
As you can see, there are no special changes here, and the main difficulty is to launch the control panel itself.
How to open the “network and sharing center” through the “run” window
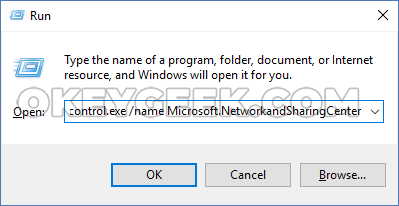
“Run” utility is executing commands entered by the user, performing certain tasks in the operating system. In particular, through “Run” you can easily open the “Network and Sharing Center”. To do this, launch the “Run” window by pressing Win + R on the keyboard and run the following command:
control.exe /name Microsoft.NetworkandSharingCenter
After this command is executed, you will see that the “Network and Sharing Center” utility has been opened.
It is worth noting that you can open the network utility via the “Run” line with another command:
explorer.exe shell ::: {8E908FC9-BECC-40f6-915B-F4CA0E70D03D} 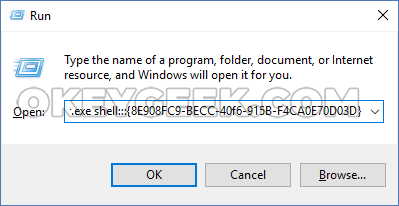