Table of contents:
1. How to prepare your pc for the GPU installation
2. How to install a GPU
Important note: Installing the graphics card is only half of the deal. Do not forget after the card is installed, you must install the necessary drivers for its correct operation. It is best to download those from the official developer website.
How to prepare your pc for the GPU installation
Before installing a new graphic card in your computer, you will need to prepare a slot for installing it, and also remove the drivers of the old graphic card. While the computer is on, go to the installation and removal of programs and uninstall software that refers to the graphic card used on this computer. You can also remove drivers for the video card through the Device Manager, but it is not really necessary to do this.
After removing drivers, shut down your computer, and also unplug the power supply from the electricity. This must be done to avoid electricity breakdown which may cause some damage to the system unit parts.
Next, proceed directly to disconnecting the old graphic card from the motherboard. This has to be done in two steps:
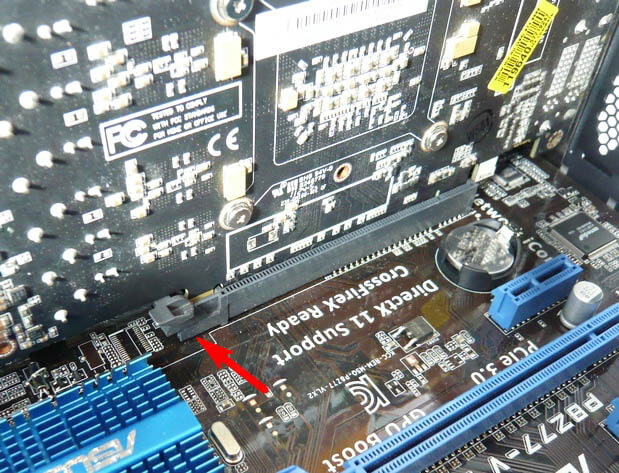
- First you need to unfasten the latches, located to the left and to the right from the far graphic card edges. These latches are necessary so that during operation the graphic card does not fall out of the slot, because it can vibrate quite heavily under the action of coolers;
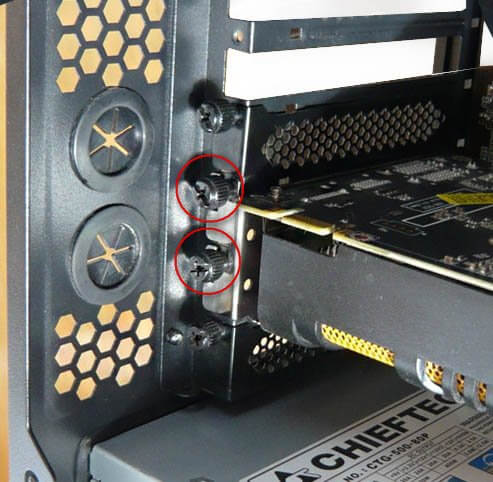
- When the latches are unfastened, make sure that the card is not fastened with screws. After that, proceed to disconnecting the graphic card directly from the connector itself. To do this, you just need to pull the graphics card. If it does not give way, then try to pull it out with the help of jiggling movements, gradually blending the “withered” connector so that it will be easier for the card to get out of it.
How to install a GPU
In fact, the process of installing a graphic card is not much different from the process of removing it. Unlike the CPU installation, there is no need to apply thermal paste, and installing a graphics card is no more difficult than installing the operating memory. Step by step it looks like this:
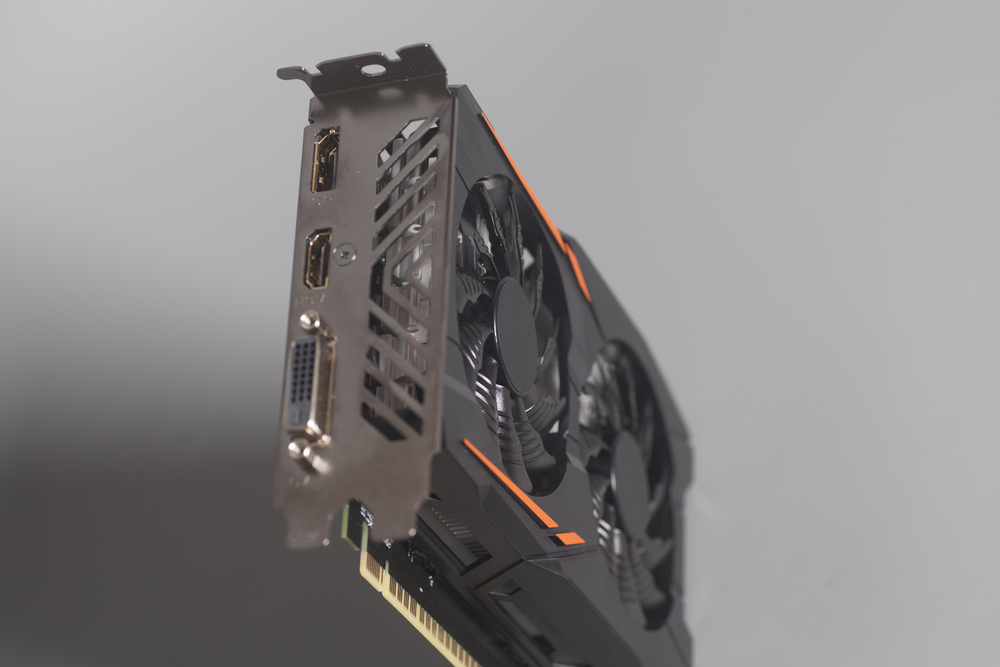
- The first thing is to unpack the video card and put an iron “plug” (if it is not originally there) on its side – the one with connectors, which serves to prevent the graphics card from bending excessively twisted when connecting connectors to it, and also, that dust will not penetrate through an empty hole in the case;
- If there are flaps on the back of the computer that interfere with the installation of the graphic card, they must be unscrewed and removed;
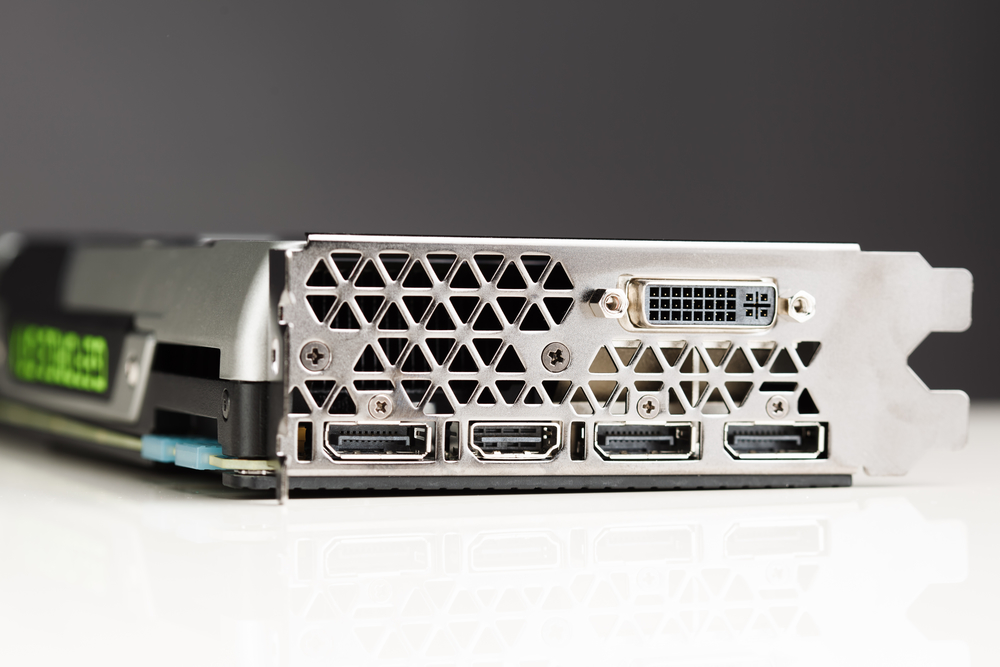
- Next, connect the graphic card to the connector where you disconnected the previous graphic card. It is important to make sure that the graphic card is firmly seated in the connector. To do this, press on it, but very carefully so as not to break it.
- The next step is fixing your graphic card in the connector by closing the latches;
- Next, connect additional power to the graphic card using the appropriate slot.
- If this is provided by the design of your graphic card, fix it with the screws to the computer case.
At this point installing the graphic card can be considered complete. Do not forget to install drivers from the official website of the graphic card developers, so that it will work correctly.